Switching to Typst
I’m switching to Typst. Just started. Let’s see if it lasts. But so far so good.
Years ago, I switched from Word to Overleaf for preparing manuscripts and grants. Word annoyed me in a bunch of ways. It’s a great common denominator and does a lot, so it’s a good starting point and I still use it for small things. But trying to get page layout nailed in big grants with tight formatting parameters entails some fuss, and I would like to see if there is a better way.
Overleaf is a way for preparing LaTeX documents. It is a bit awkward, in that it is not a WYSIWYG editor like Word is. Everything is code based. There are no click-and-drag mouse movements that can lead to unpredicted outcomes like in Word. I enjoyed working in Overleaf and still do. However, Overleaf is not perfect either. It is easy to appreciate TeX and LaTeX for the advance they were at the time. And we also appreciate the pioneering computer scientists who developed them, Donald Knuth and Leslie Lamport — both are Turing Award winners (but not for their typesetting or page layout work). Still, these days the codebase is a bit of a mess, and some simple tasks, when I wanted something a very specific way, were requiring me to spend a lot of time finding workarounds. Time that I don’t have.
So now I’m moving from Overleaf to Typst. Typst is like Overleaf / LaTeX in that you code in one window and see the document to the side. But in Typst: the update is WAY faster (and it’s live, no need to activate a rebuild), the error messages are more helpful, and the code is much cleaner and requires fewer packages. References are still easy to do, just bibtex like Overleaf. It is not perfect, but so far, I have found it much easier to get it to do what I want.
When we put papers and grants together, there are several different steps or components of the work.
Step 1: Word processing. This is when we are just composing the text. Punctuation, paragraphs, maybe spell checking and grammar checking, counting words, etc. That’s it. I put referencing in this part too. And I appreciate some automated means to keep track of them so that I can change the bibliography style and/or the reference style (numbers or names and years, etc.) quickly with little fuss and reformatting. I used to use Endnote for this, and bibtex is what I prefer now. I sometimes do my first drafts in text files or emails to myself. It’s very low friction, basically zero to get typing, and it lets me get ideas down without any distractions. I can add outlines or blocks of text, and then paste into somewhere else later.
Step 2: Typesetting. This is when we pick typefaces, sizes, and so forth. Math symbols get formatted. This takes the words from Step 1 and makes them readable. TeX and LaTeX are pretty good for formatting math quickly. This was one niche where they excelled and addressed a huge pain point for academic authors when they were developed.
Step 3: Page layout. This is when we organize the text that we have set in Step 2, along with images or figures and other components like page numbers, title blocks, author blocks, and so forth. This makes the final document. Microsoft Word didn’t even allow images to be inserted into documents for like six years, until 1989 and Word for Windows came out. But after so many years, it does a pretty good job. I just couldn’t always get Word to do exactly what I wanted. Some programs, like QuarkXPress and Adobe InDesign, are powerful page layout engines, but writing there first (step 1, above) can involve some friction compared to starting with a blank page in Word, for example. Workflow matters. For this reason, Apple iWork’s Pages software tried to have its behavior switch between word processing / typesetting and page layout.
I like the Overleaf / Typst style of just banging out text quickly, with little friction (step 1), then fixing the formatting and adding in figures later (steps 2 and 3). And so far, those later steps are much easier with Typst.
For page layout (step 3), ideally you have a template or a set of rules to follow. If you’re typesetting to make it look like a Nature paper[*], then all figures will be sized to take up one or two columns, and captions will have constraints as well. With that workflow, it is good to block things out into columns and boxes and move things around to fit the journal style. But then if you later make big changes to the text, it can throw everything off.
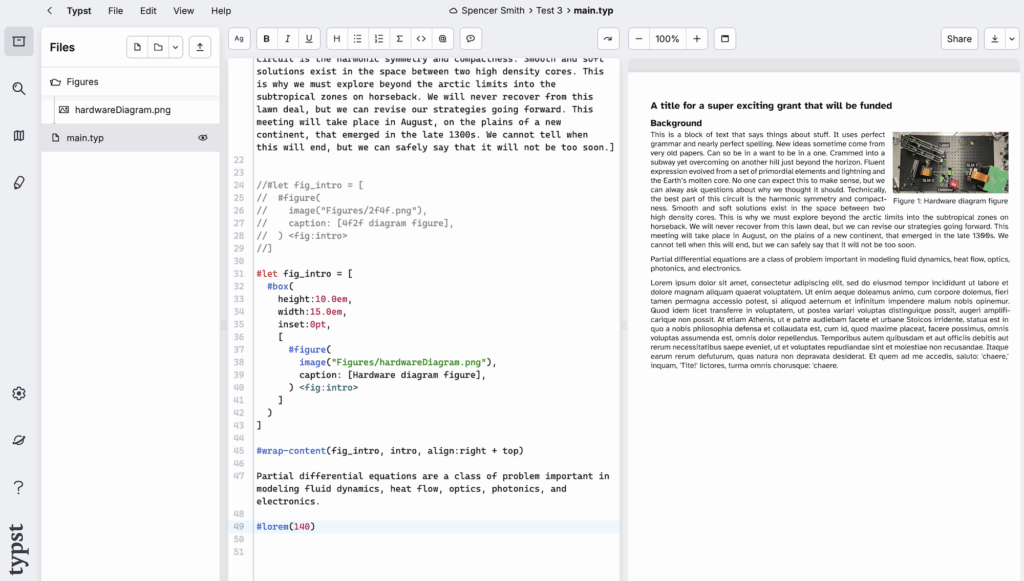
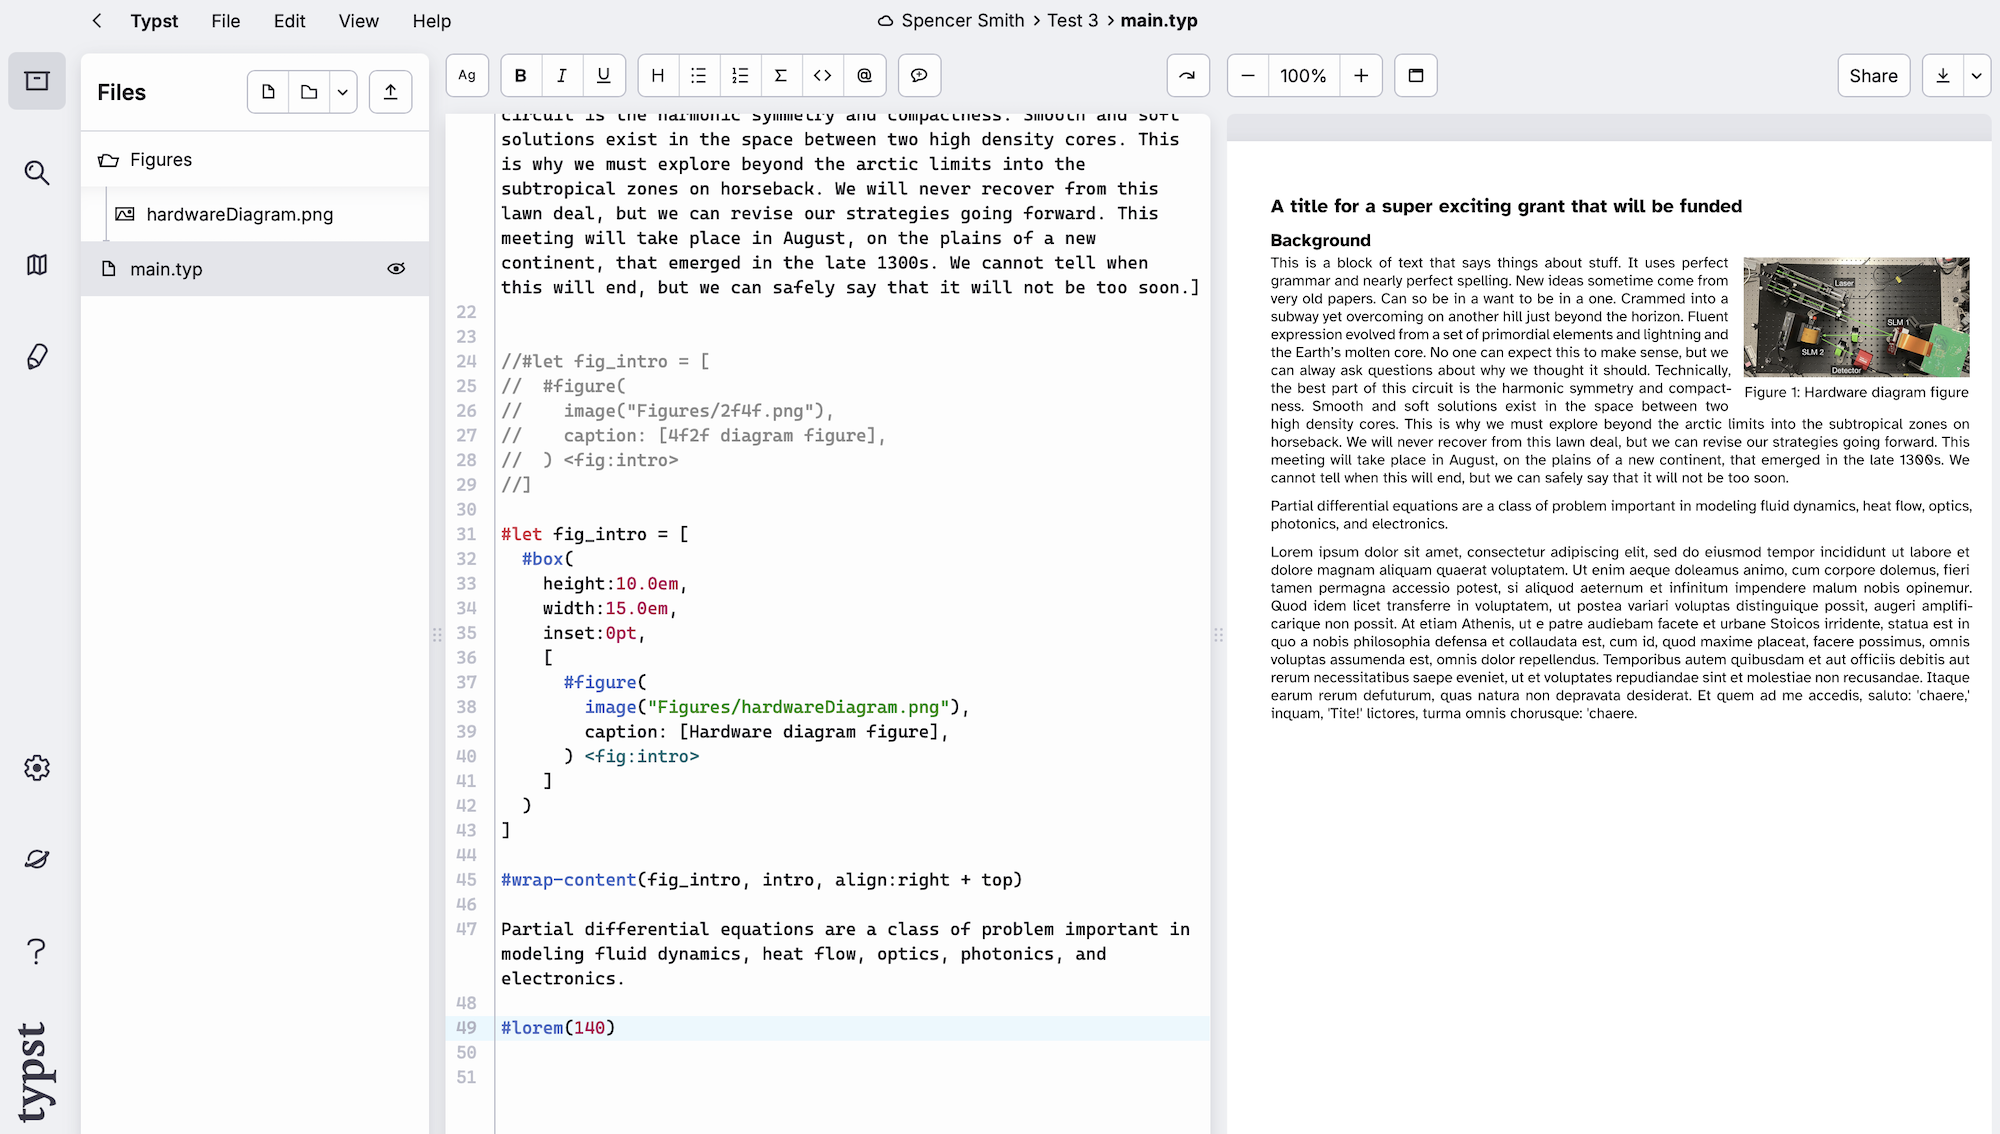
What many of us end up doing for grants is writing walls of text, no columns, and then adding in figures in a later pass, wrapping the text around the figures tightly so that we don’t have to give up too many words. This is lame from a design perspective, but it is a rational approach when faced with strict page limits, formatting limits, and a lot that you want to communicate. It is not the easiest thing to accommodate in Overleaf. I’ve done it repeatedly– it’s not impossible– but I’ve also burned a lot of time fussing with odd behavior and finding workarounds. So far, it seems like Typst handles it better.
[*] Speaking of– no matter where you submit your paper, Nature’s guidelines for figures are not a bad place to start when putting figures together. Their abstract guide is also useful. It’s not the only way to do these things, but it’s not a bad set of guidelines to use. I send these to students all the time to give them a starting point. https://research-figure-guide.nature.com/figures/preparing-figures-our-specifications/