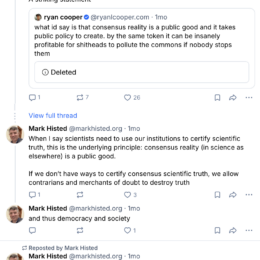
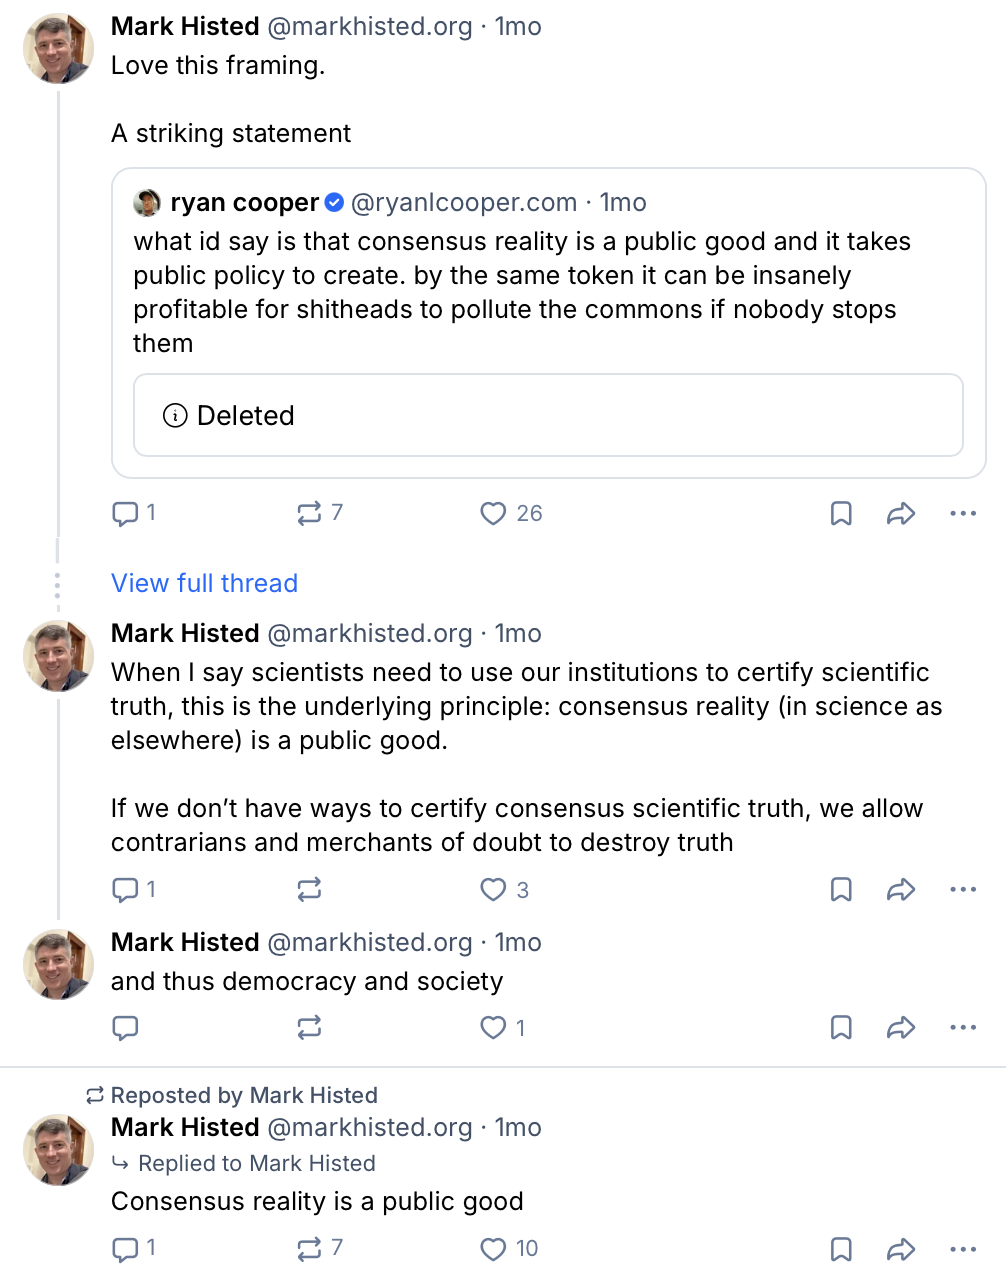
Consensus reality is a public good
Posted in Uncategorized
This comment by Ryan Cooper came to me from Mark Histed. It has stuck with me, and Mark has repeated the idea a few times. For years now, I’ve been annoyed at how…
This comment by Ryan Cooper came to me from Mark Histed. It has stuck with me, and Mark has repeated the idea a few times. For years now, I’ve been annoyed at how…

“by opening the door to irrational medicine alongside evidence-based medicine, we are poisoning the minds of the public” – Baum and Ernst 2009 Source
Oliver…
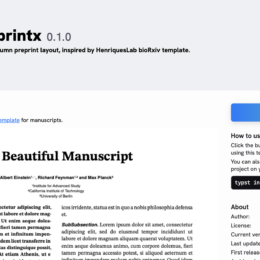
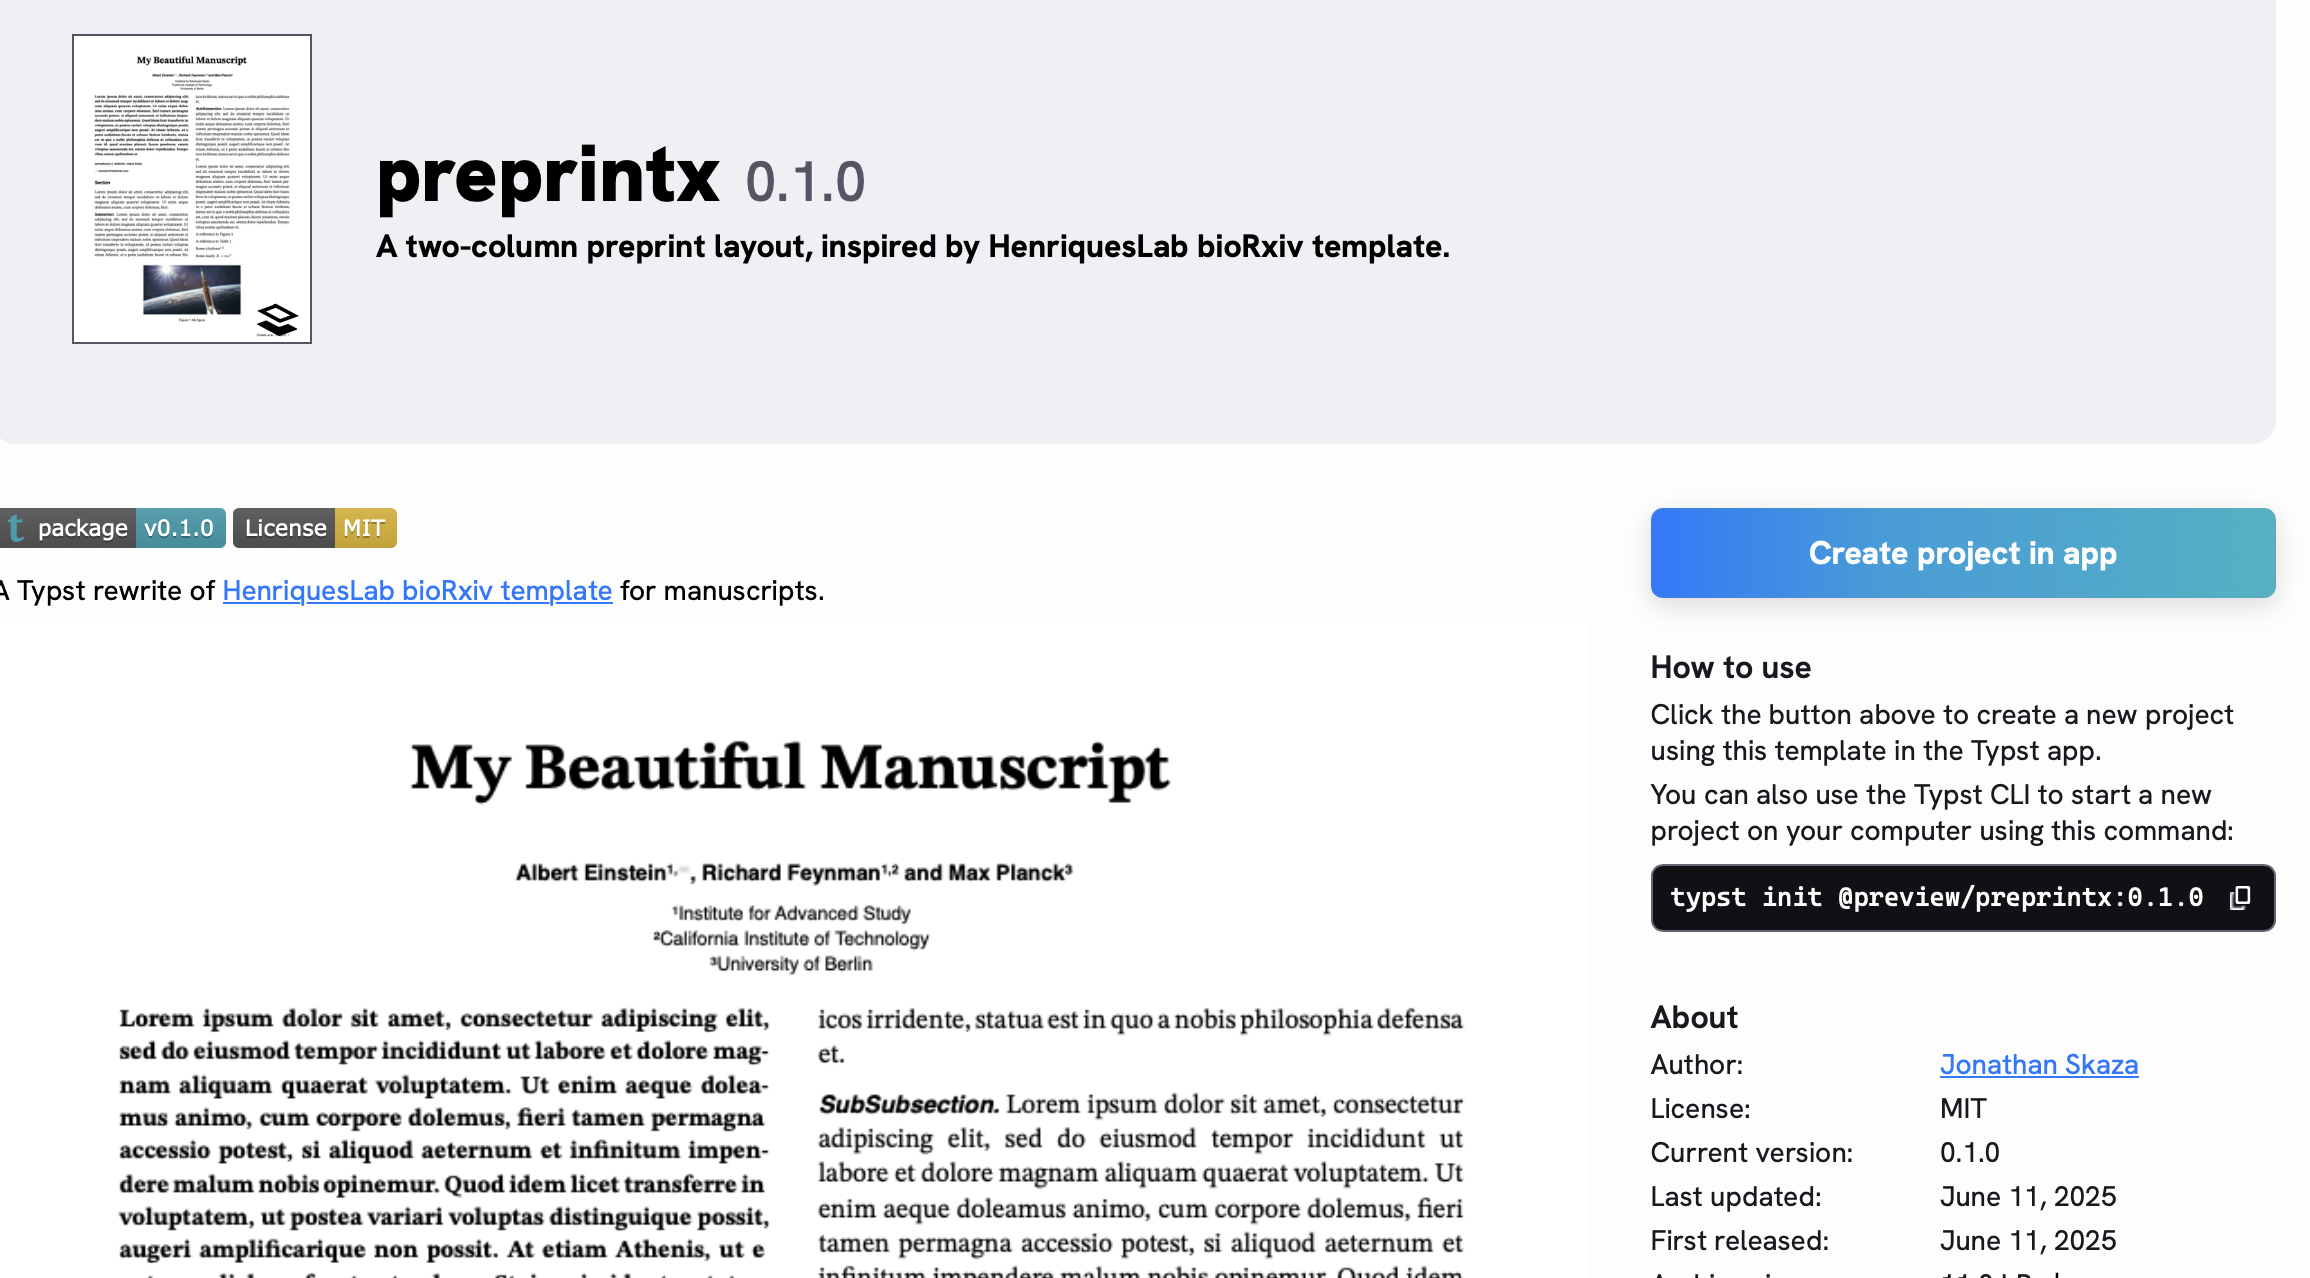
I’ve posted a couple of times about Typst (some tips to get started, and why I like it over Word and LaTeX). I was happy to see…
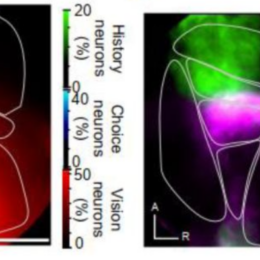
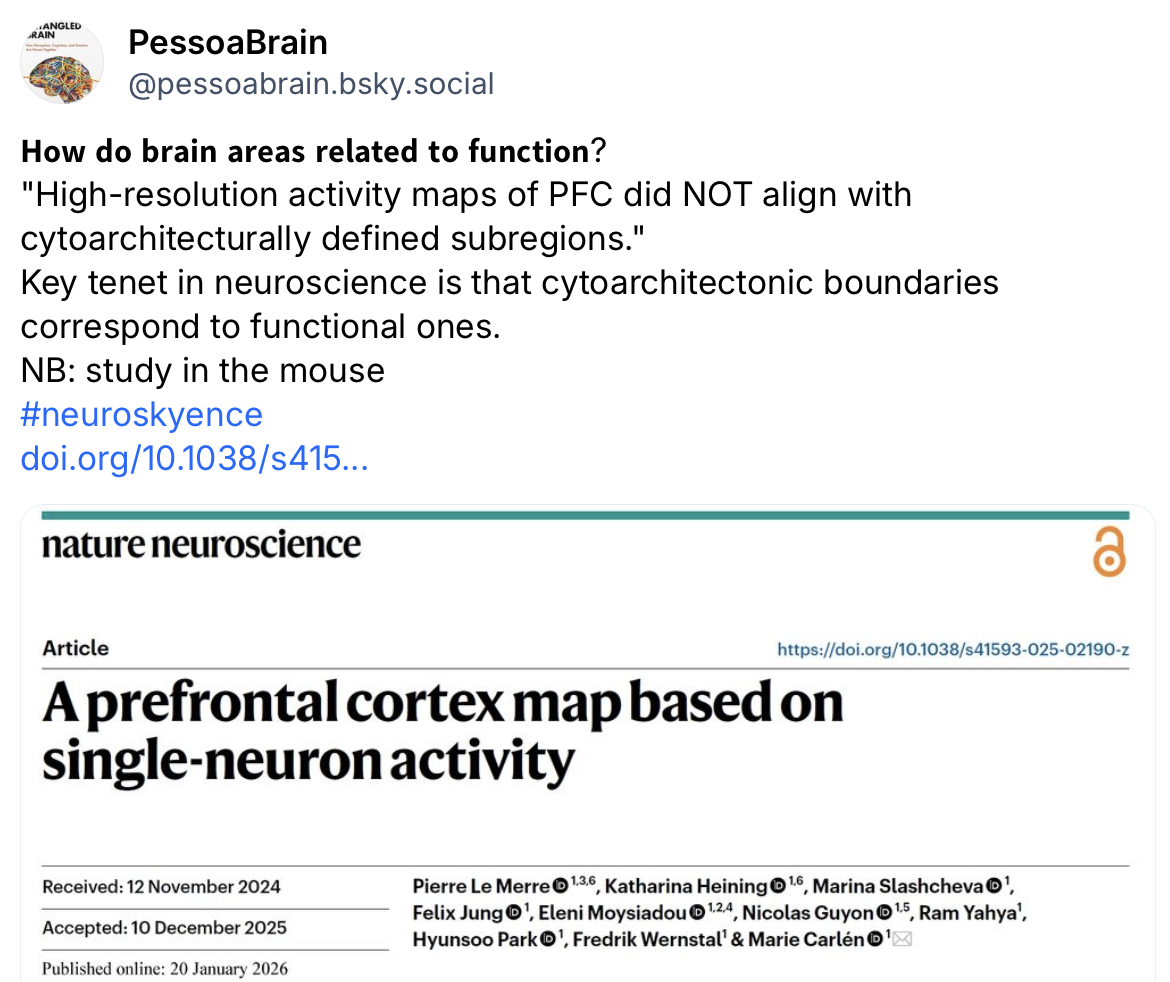
I saw this post, with this quote: “High-resolution activity maps of PFC did NOT align with cytoarchitecturally defined subregions.” Is this a profound, provocative finding that provides strong evidence for the irrelevance of cytoarchitecture?
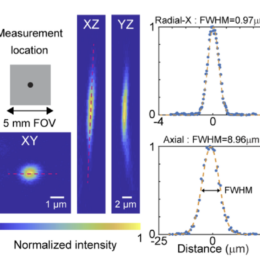
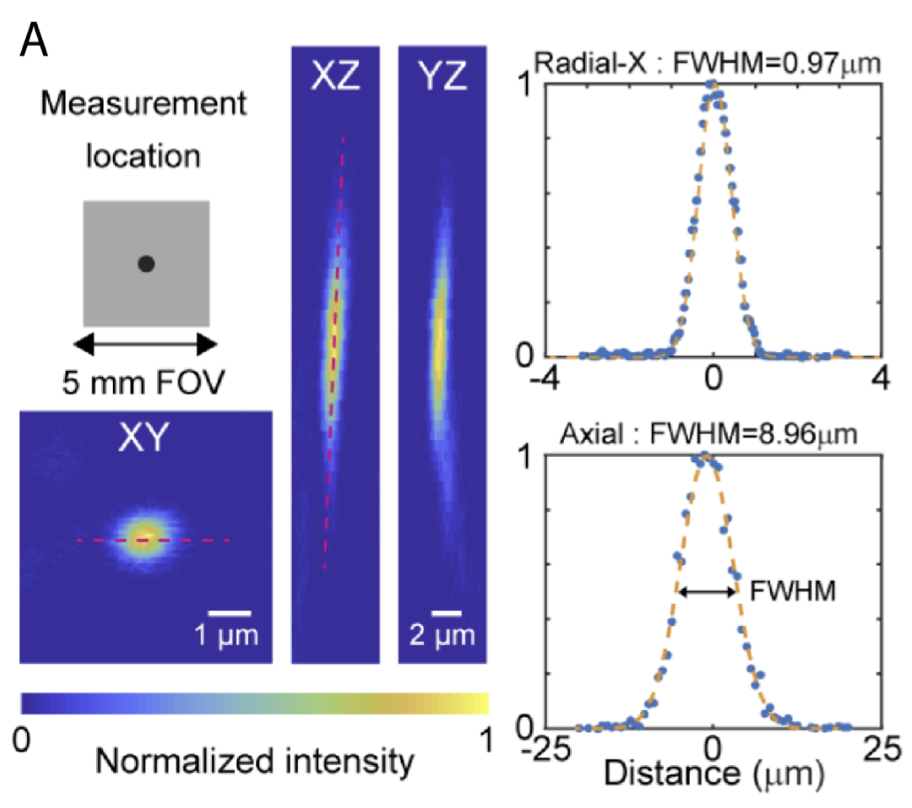
When you publish a paper on a new imaging system, people often want to compare figures of merit. Field-of-view, resolution, speed, etc. They want to know in what ways your system…
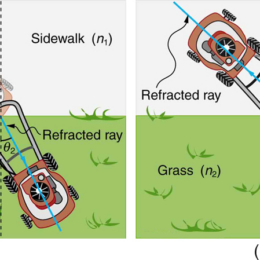
Maybe you learned that his name was Snell. It wasn’t.
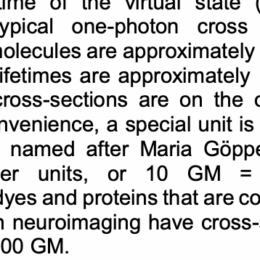
Let me back up. Electromagnetic waves propagate at about 3 x 10^8 meters per second in vacuum. We often call that number “c“. When those waves have frequencies around 400 – 800 terahertz, we call them visible light.
When those waves go through materials like glass,…
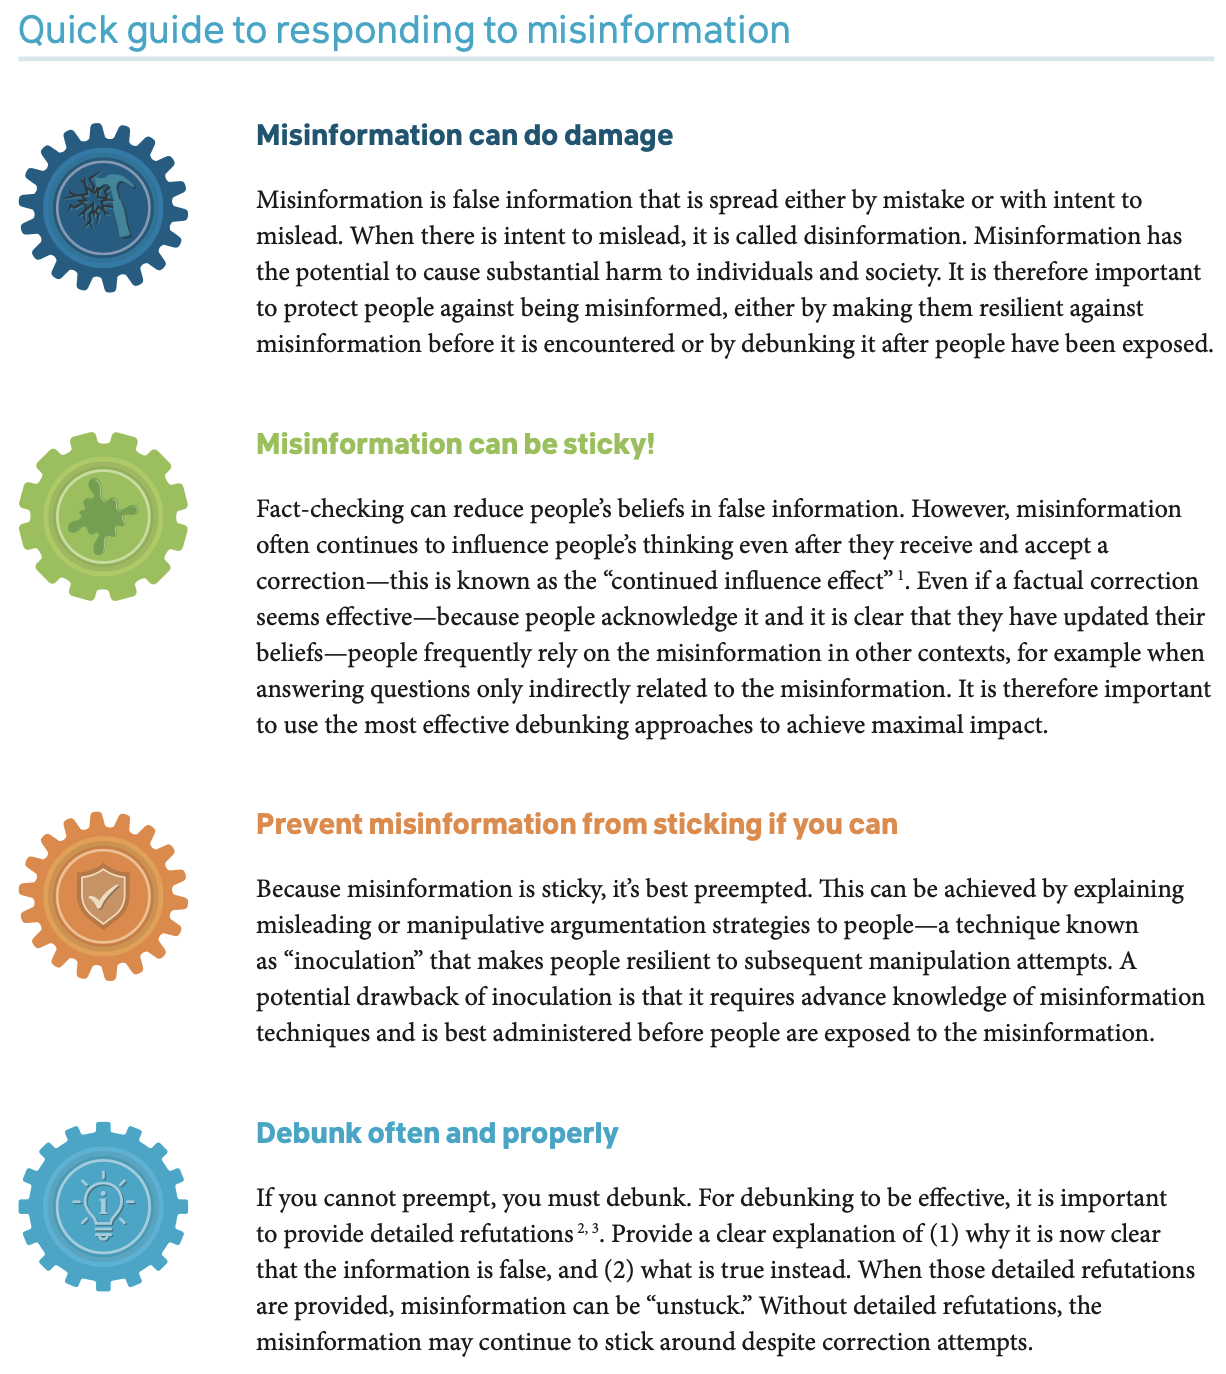
This handbook is available for free online. Here’s the link.
There is much evidence that updates to factual beliefs, even if successful, may not translate into attitude or behaviour change….

There are always people who complain loudly that they are unconvincing. They won’t say it that way, though.
Instead, they might blame suppression of speech, or a conspiracy, or people being paid-off, or…

It’s right there in the name of this blog. A double entendre: (1) for experimental apparatus rigs and the people who build them, aka “riggers”; and (2) rigor, an important principle,…

I have a little piece I often reuse, it goes something like this.
We know that visually guided navigation is a hard problem even for state-of-the-art AI because we’re pouring…
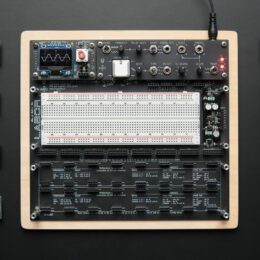
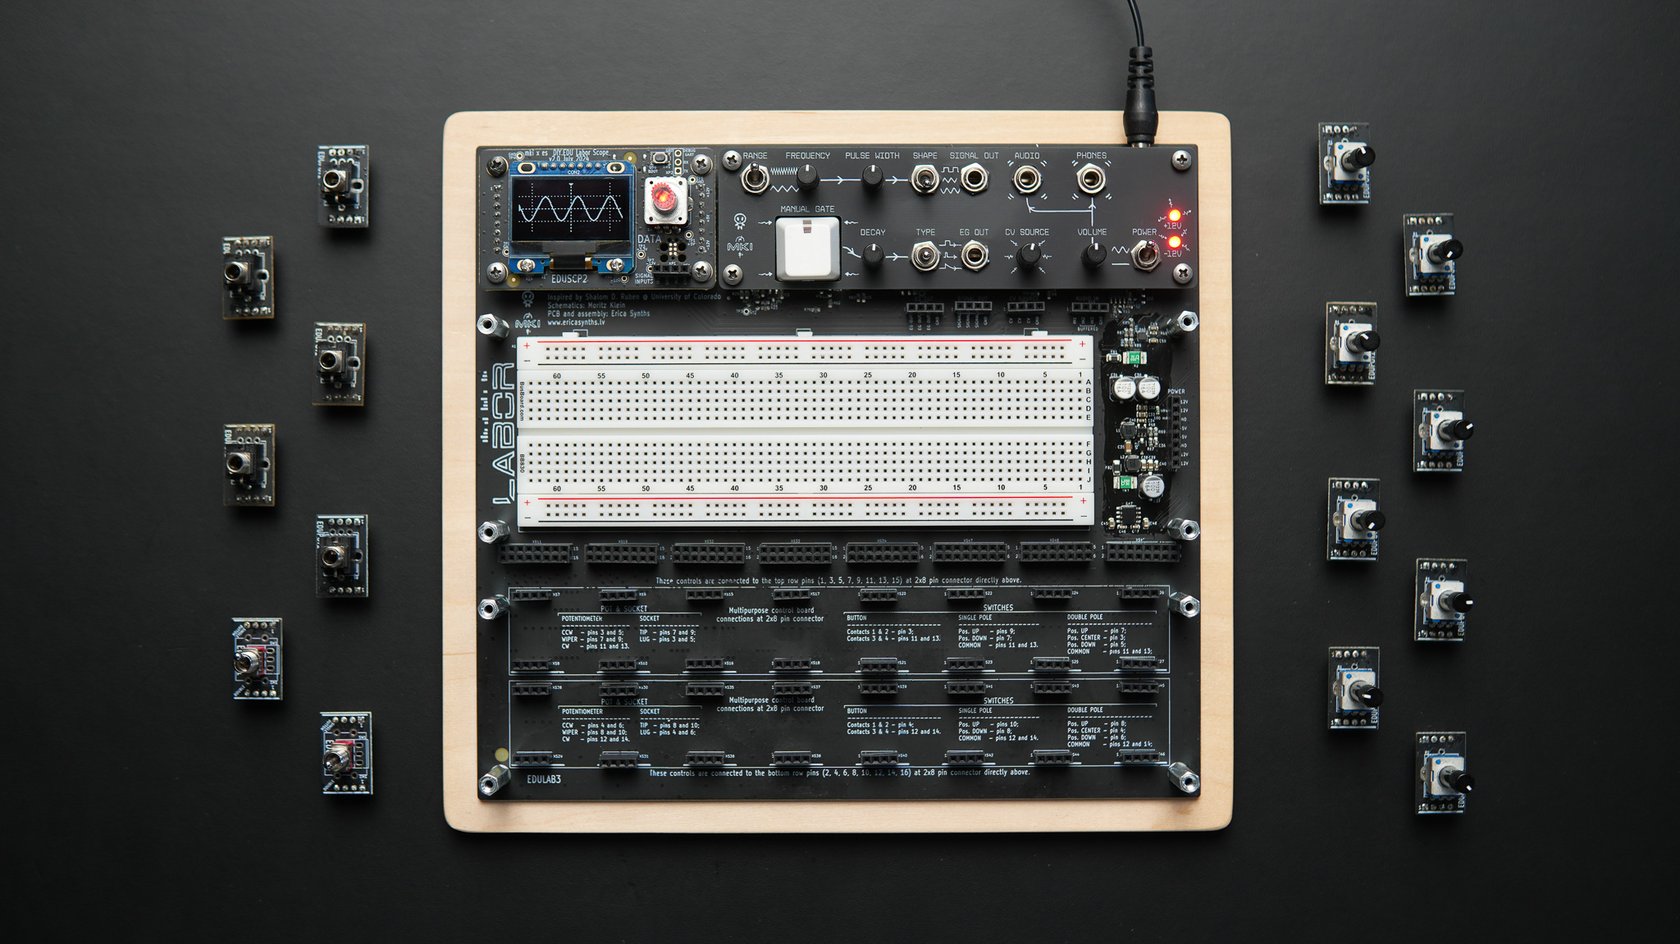
I came across this cool minimal synth kit called Labor from Erica synths. It’s great for learning about circuits and signal processing. There are videos online about…
One time, years ago, I was asked (by a very nice person and an accomplished scientist) to write a book chapter. I didn’t want to. But I was working with a brilliant postdoc who might…
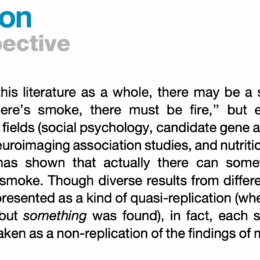
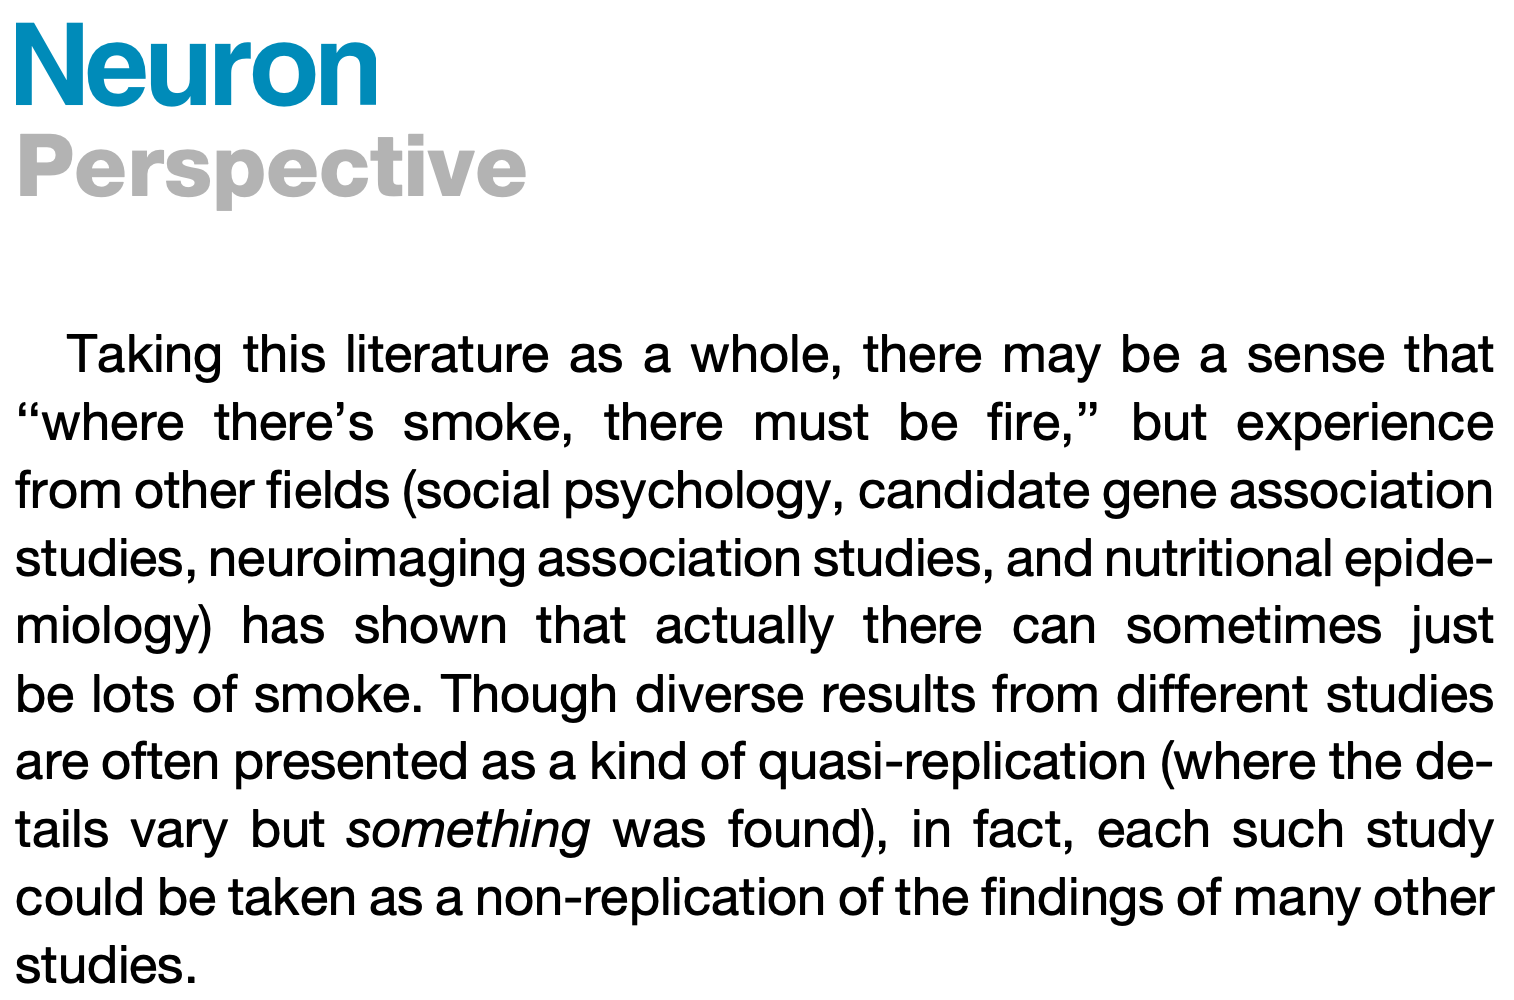
It has been a long standing interest of mine to better understand (and find ways to address) how entire fields of scientists can lead each other astray– into ideas that…
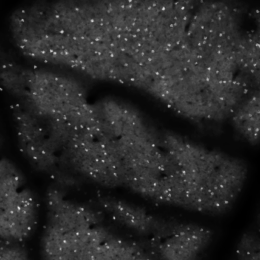
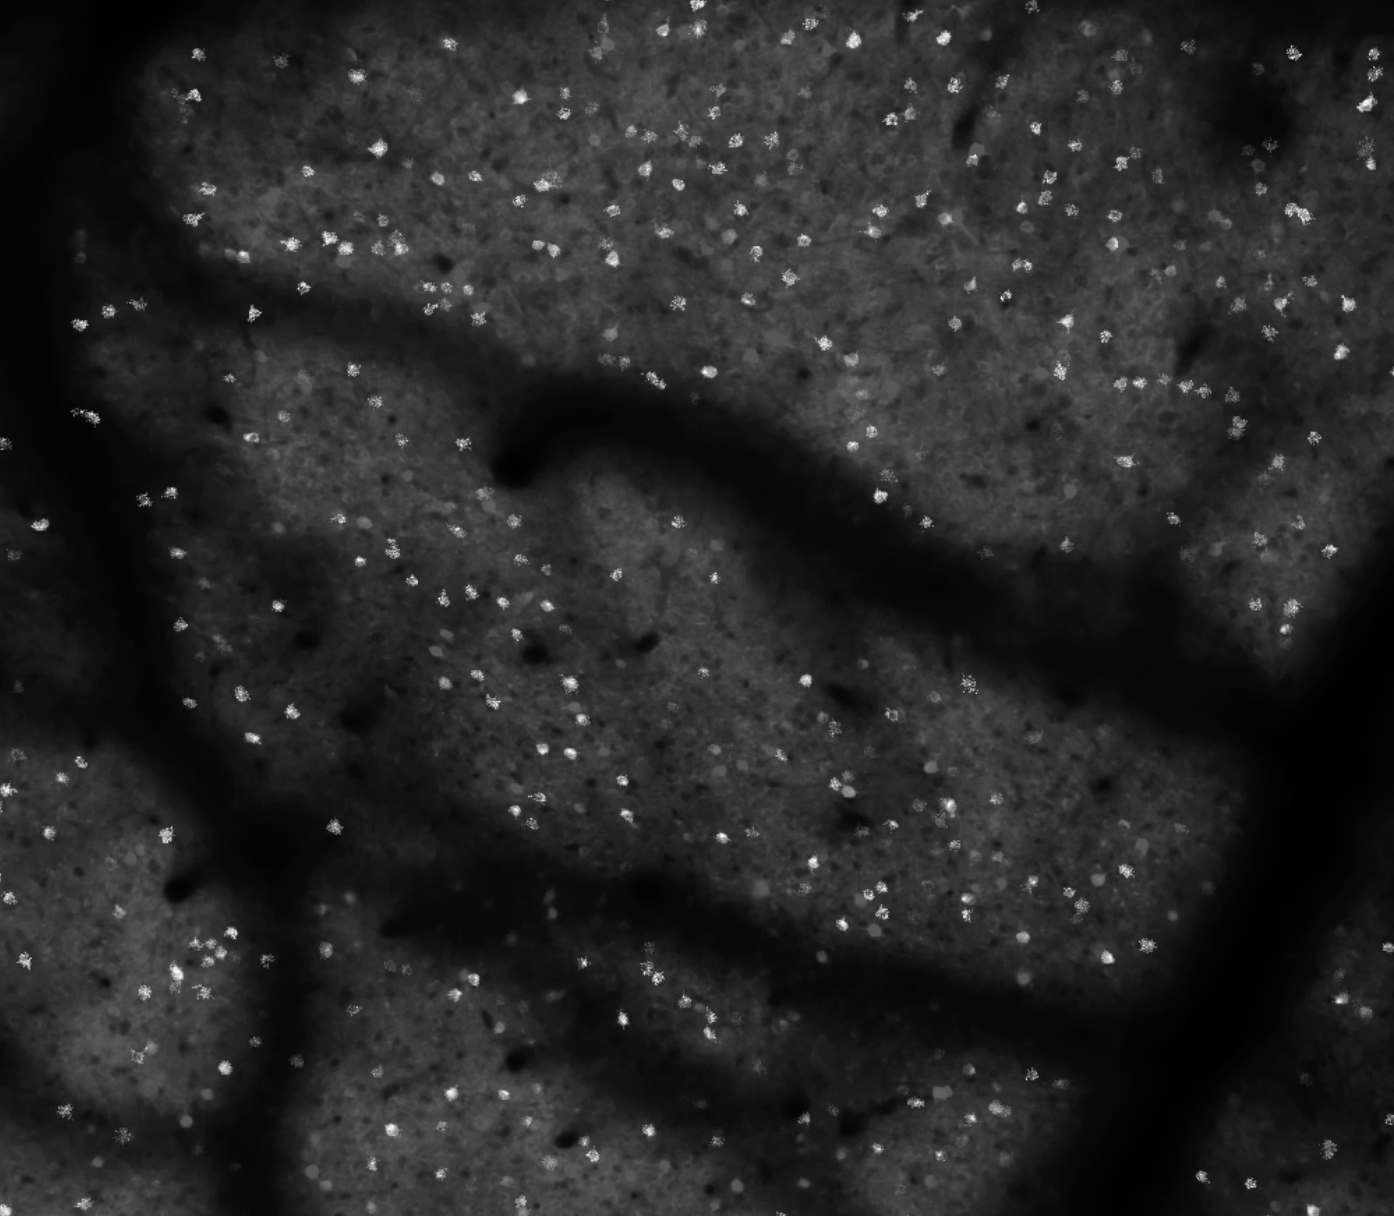
Want to make your calcium imaging videos look better for presentations? Read on. Or just skip to the recipe section below. First, I’ll discuss the motivation a bit.
One of my refrains…

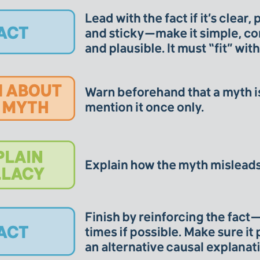
Imagine your car won’t start. Your mechanic has a theory: “The battery is dead.” Now, they have several ways to share that theory:
Option 1: Launch a podcast. They passionately…