Open source pipetting robot – aBioBot
Posted in Hardware
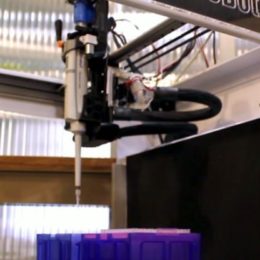
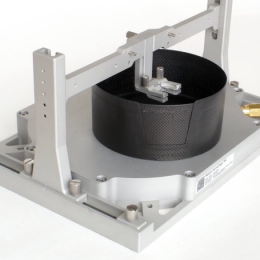
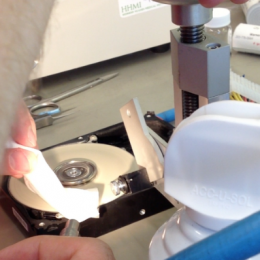
aBioBot is an open source liquid handling (i.e., pipetting) robot platform with integrated machine vision. The system can deal with multiple tube types, and detect if a tip falls off.
…
aBioBot is an open source liquid handling (i.e., pipetting) robot platform with integrated machine vision. The system can deal with multiple tube types, and detect if a tip falls off.
…
“>
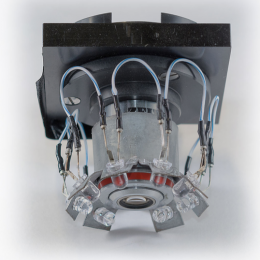
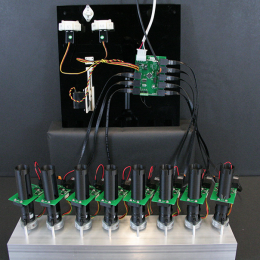
Leonardo Lupori and Raffaele Mazziotti are two fellows in lab of the excellent Tommaso Pizzorusso. They have developed an intrinsic signal optical imaging rig and are sharing all of the materials. Here’s their web…
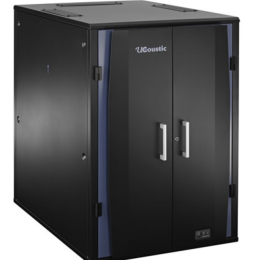
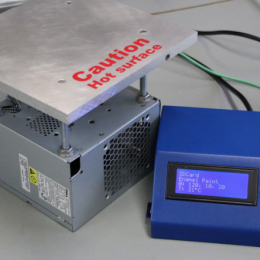
Experiment rooms can get noisy, so Labrigger puts the noisy bits in sound dampening cabinets like these. A separate room could be ideal, but this works too. Just put all the noisy equipment (rackmount portions…
ScanImage 5 supports resonant scanning with a wide range of hardware. So custom rigs can add resonant scanning pretty easily, while sticking with ScanImage for acquisition.
It takes about $10,000 worth of electronics…

Our friend Christian Wilms tipped us to Austin Blanco’s blog, which has some posts you all might be interested in:
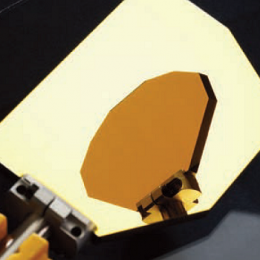
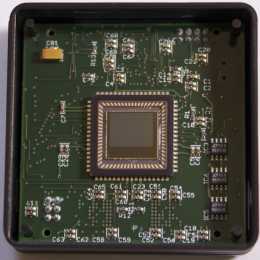
Characterizing unknown optical components
A few notes on Arduinos, their timers, and using…
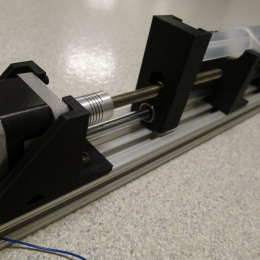
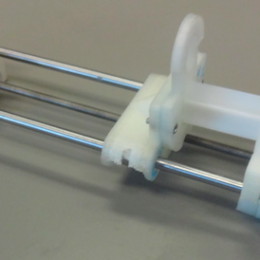
Theo Walker has a very nice open syringe pump design that has some advantages over another open syringe pump project we’ve covered (though the latter is less expensive).
…
About 25 years ago, pro-level audio recording technology was prohibitively expensive for home studios. Then, digital audio technology like the Alesis ADAT enabled working class musicians to produce high fidelity recordings. The…
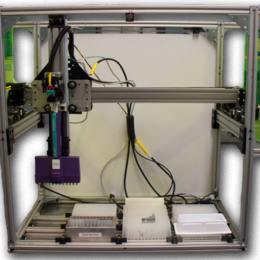
OpenTrons is a project to develop an open architecture for liquid handling lab robots. Actually, they’re more versatile than that. They can also be used for related robotic tasks, such as pick-and-place machines. They…
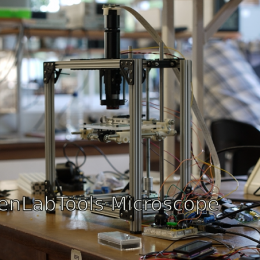
OpenLabTools is a new initiative at Cambridge University, using engineering students to develop modular lab equipment.
The OpenLabTools initiative aims to provide a forum and knowledge centre for the development of low cost and…
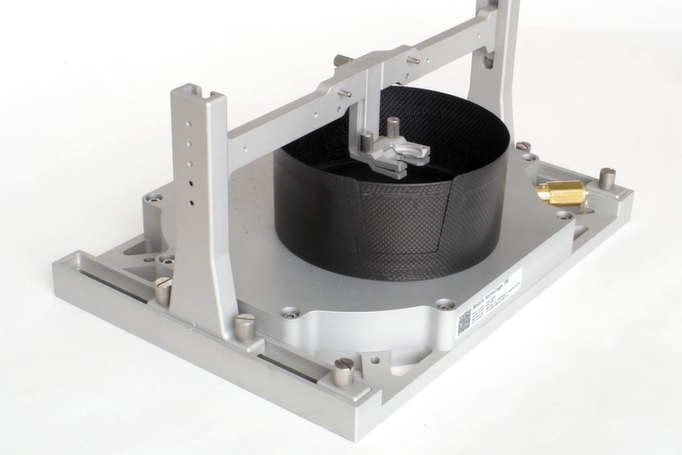
Mobile HomeCage is a different approach for awake, behaving experiments. It’s from Helsinki-based Neurotar.
Their marketing video is worth a viewing. You won’t regret it.
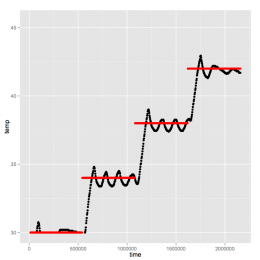
Jacob Forstater (UNC-Chapel Hill, Physics) shared this tip: The Klavins lab is sharing their materials for this open source turbidostat. The wiki offers detailed plans and well-document construction. Even if you don’t need…
Labrigger previously mentioned this contest. All of the 173 projects are online for your perusal. See if any of them inspire you.
…