Specifications for new lab space
Posted in Tips
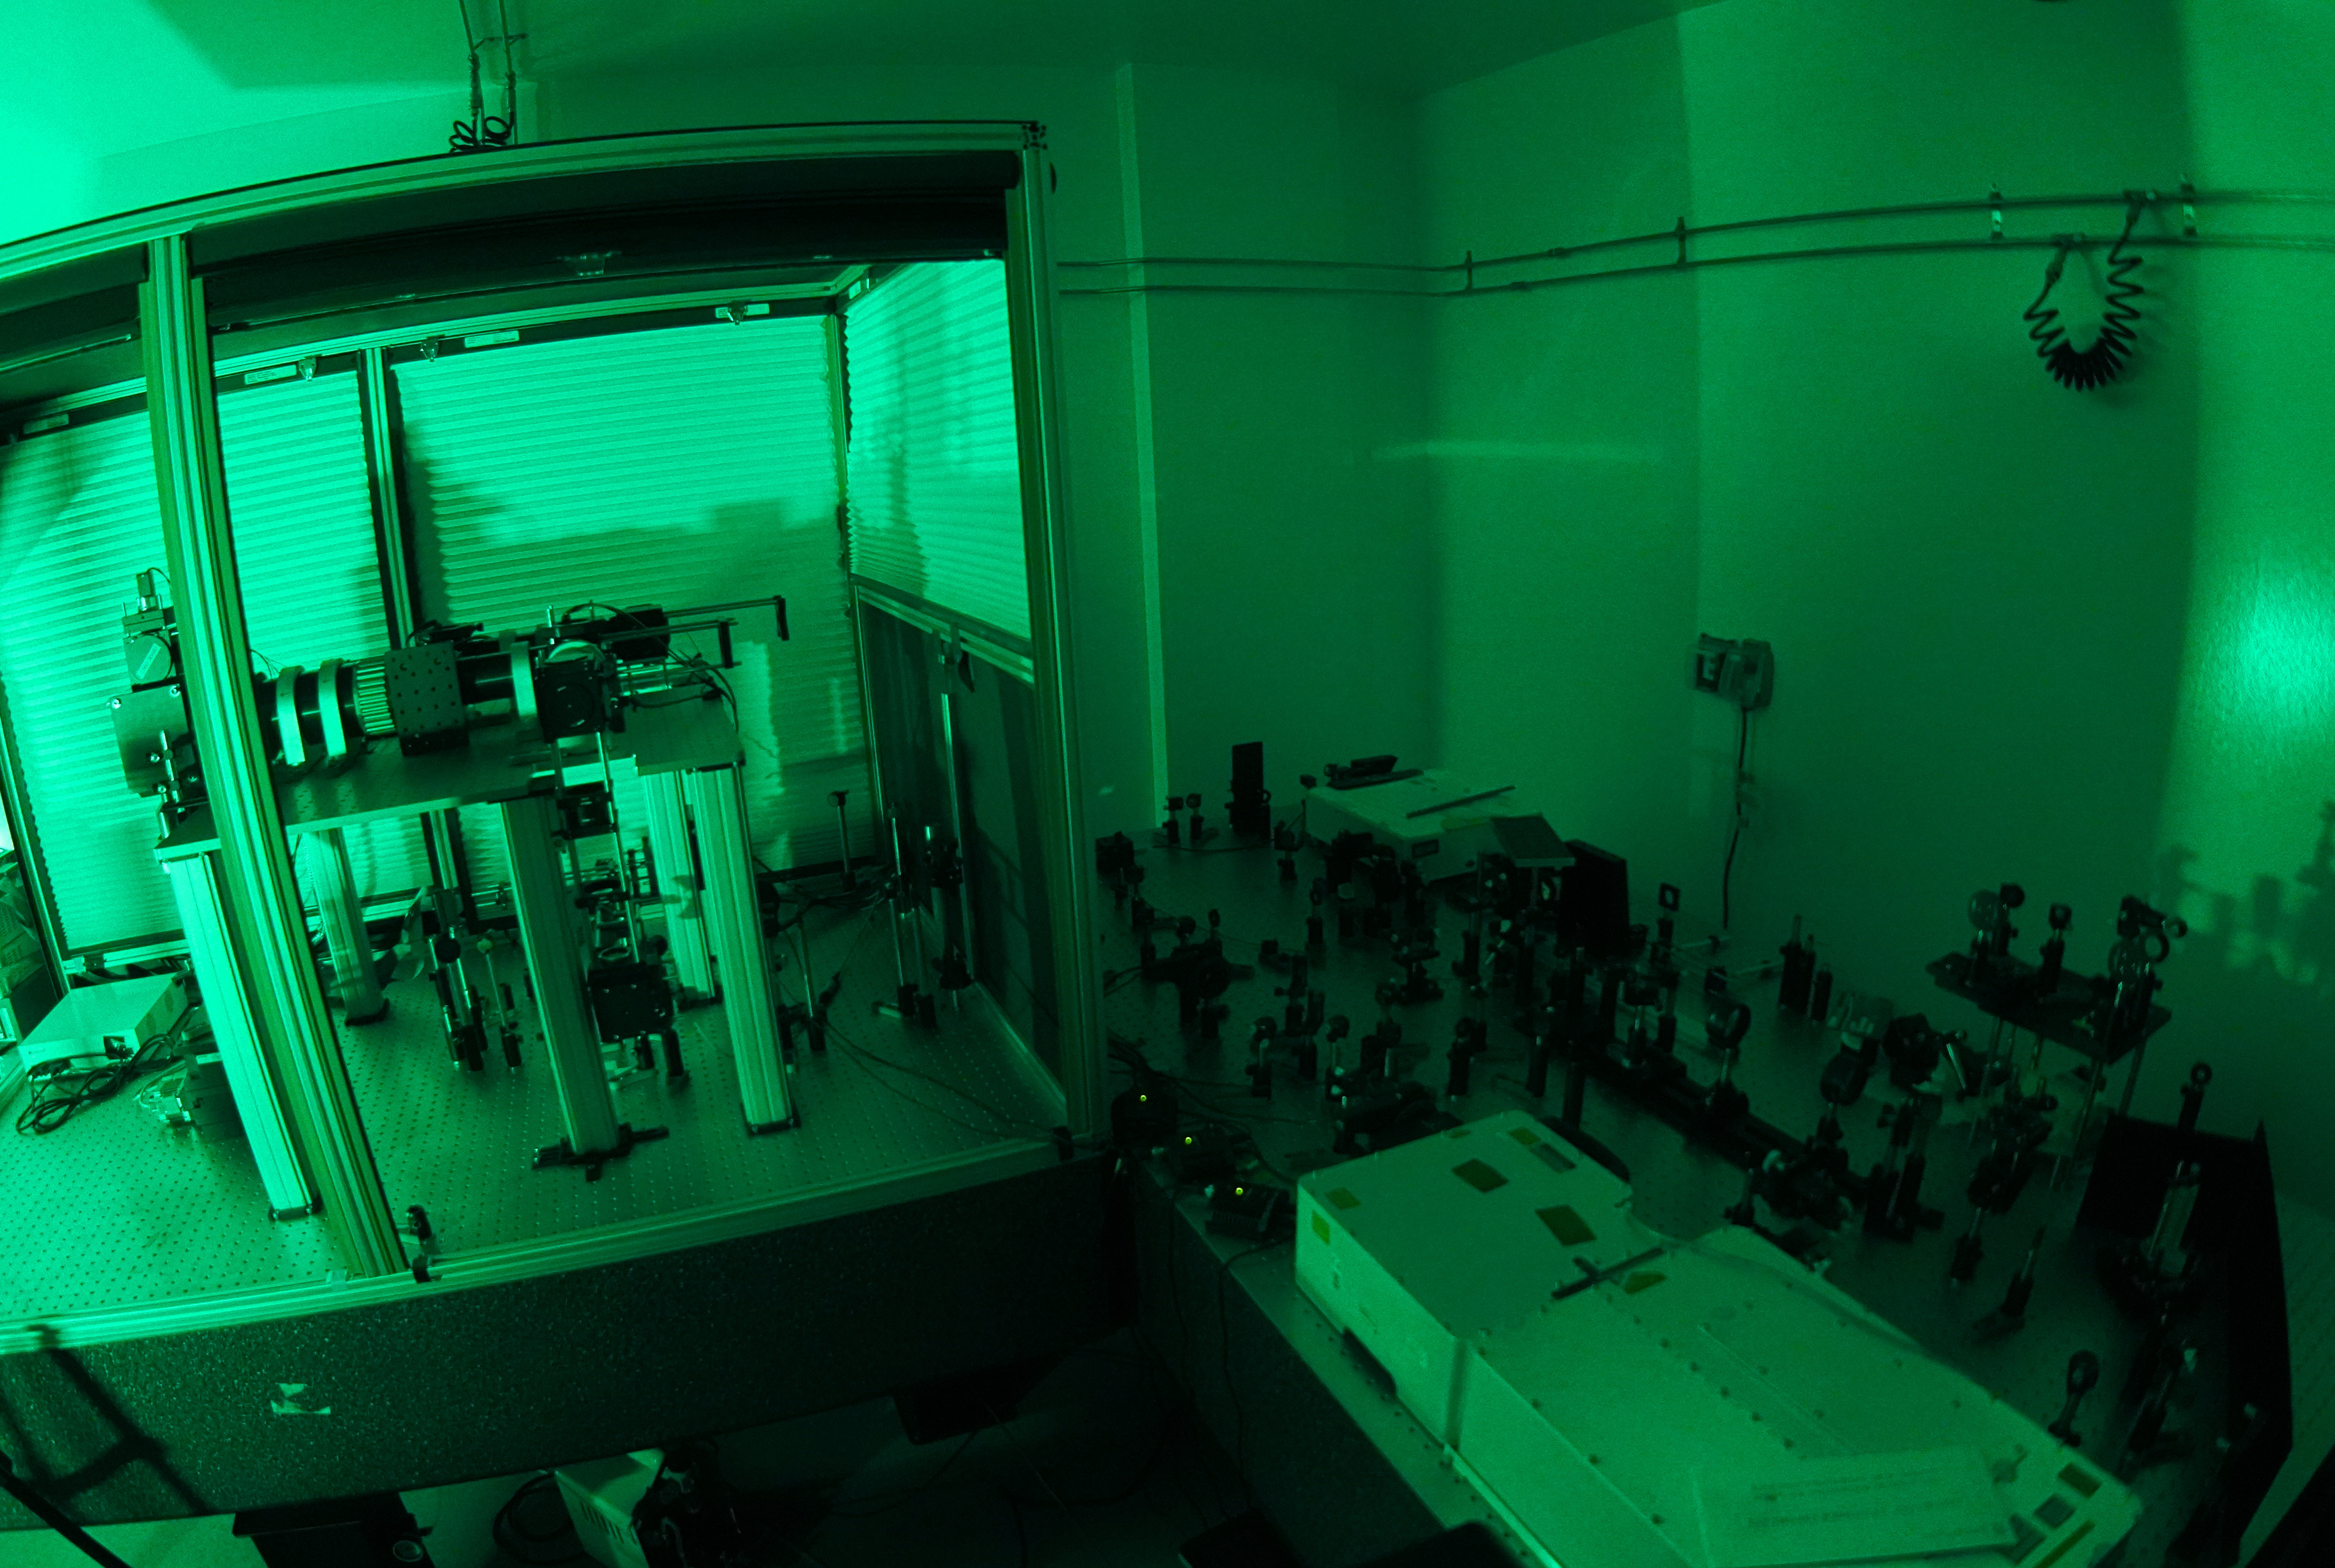
Setting up some new lab space? Need some plans and specifications for renovations? Here are some notes that are relevant for setting up rooms for 2-photon microscopes and/or electrophysiology to be used with animals. If your target is something different from that, then maybe there are…


